This Here’s How To guide outlines the steps involved using your Brother Scan N cut resize cut files in Brother Canvas Work Space.
In this SVG cut file guide we are using Marley the Monkey – Letter “C” from the Fable & Guild Animals Alphabet Suite Collection to outline the steps required showing you how to use your Brother Scan N Cut resize cut files.
Brother Scan N cut Resize Cut Files Steps
1
UPLOAD LAYER 1 TO BROTHER CANVAS WORKSPACE
Upload each of your layered SVG cut files onto your Brother Canvas Work Space (your Scan N Cut art board).
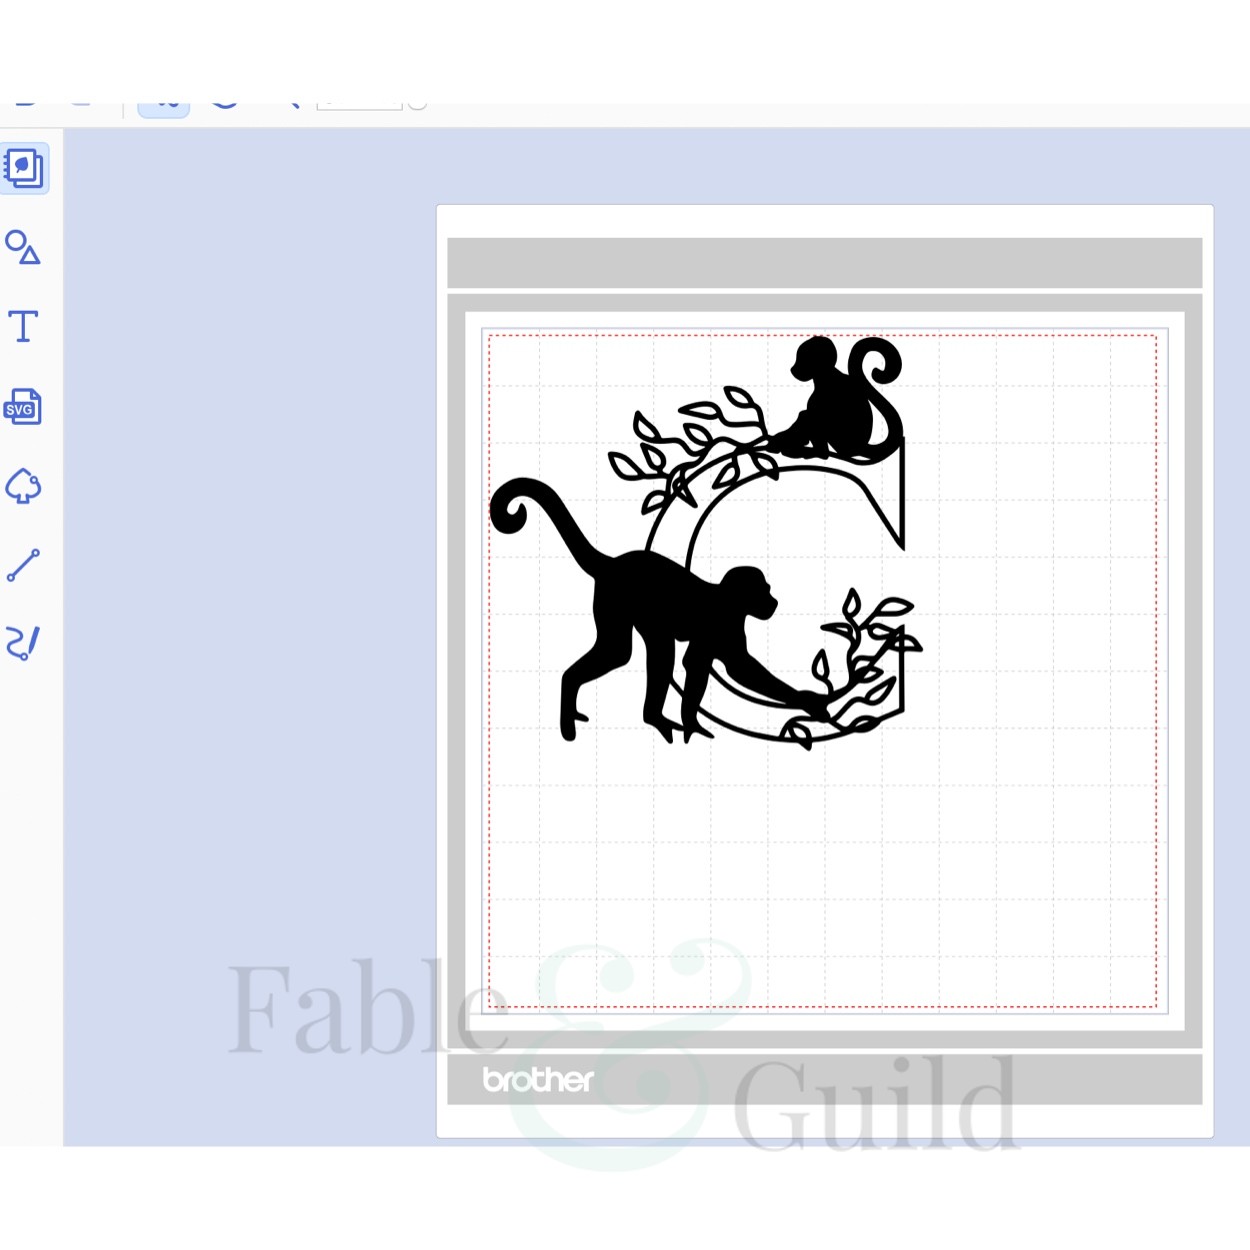
This is what your art board should look like with one SVG cut file layer uploaded onto your Brother Canvas Work Space.
2
ART BOARD WITH 2 LAYERS IN BROTHER CANVAS WORKSPACE
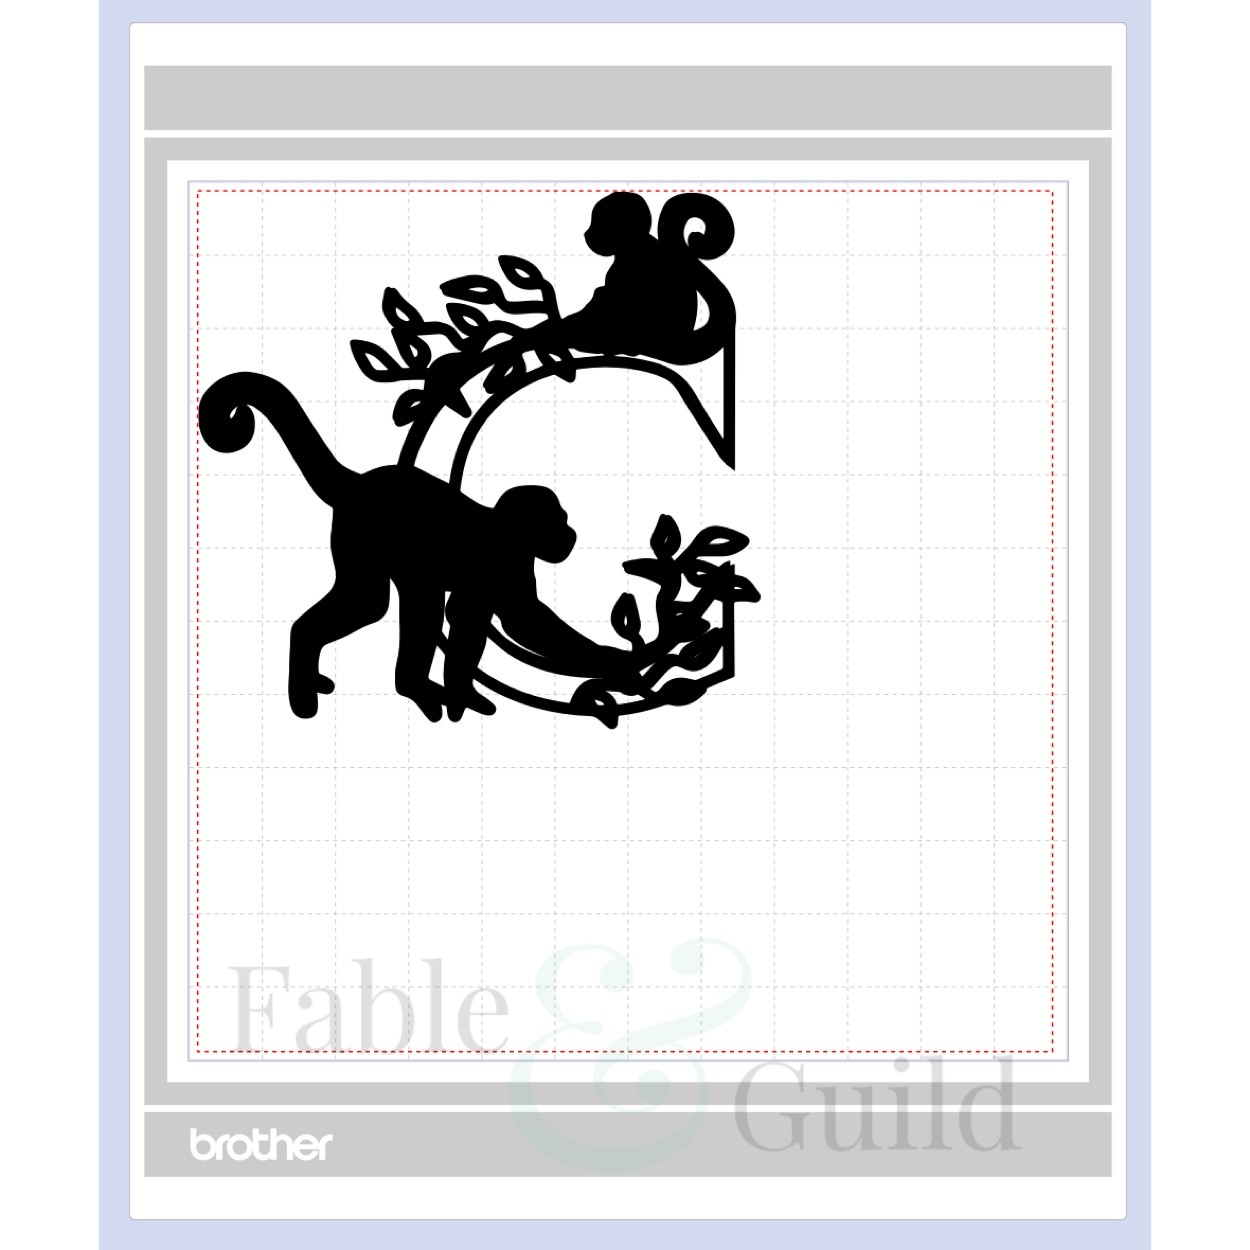
This is what your art board should look like with two SVG cut file layers uploaded onto your Canvas Work Space.
3

ART BOARD WITH ALL LAYERS UPLOADED TO BROTHER CANVAS WORKSPACE
This is what your art board should look like with all your SVG cut file layers uploaded onto your Brother Canvas Work Space. Our example cut file Marley the Monkey – Letter “C” is a 6 layer cut file.
4

SELECT ALL LAYERS IN BROTHER CANVAS WORKSPACE
With all your layers visible (6 in our example) on the art board.
Select all your layers on your Canvas Work Space art board (by clicking on the art board in the bottom right hand corner, then drag your cursor over all the layers).
A blue outlined box will appear around the outside of all the selected layers (as per the image 4).
5

ALIGN YOUR LAYERS IN BROTHER CANVAS WORKSPACE
Make sure all your SVG files are centre aligned by clicking on the upper middle icon and the lower middle icon from the right hand Align menu.
Your files should be sitting nicely with each layer sitting on top of each other.
6

BROTHER SCAN N CUT RESIZE CUT FILES IN CANVAS WORKSPACE
Select all your SVG layers again and set your preferred size for width or height (not both). For example, if you are making a series of letters to make a word you would want them all to be the same height, say 8”, and so you would set the height of each cut file letter and not the width.
Make sure you have aspect ration checked with a tick and click to resize. Click ok in the little pop up box that appears on your Canvas Work Space screen.
7
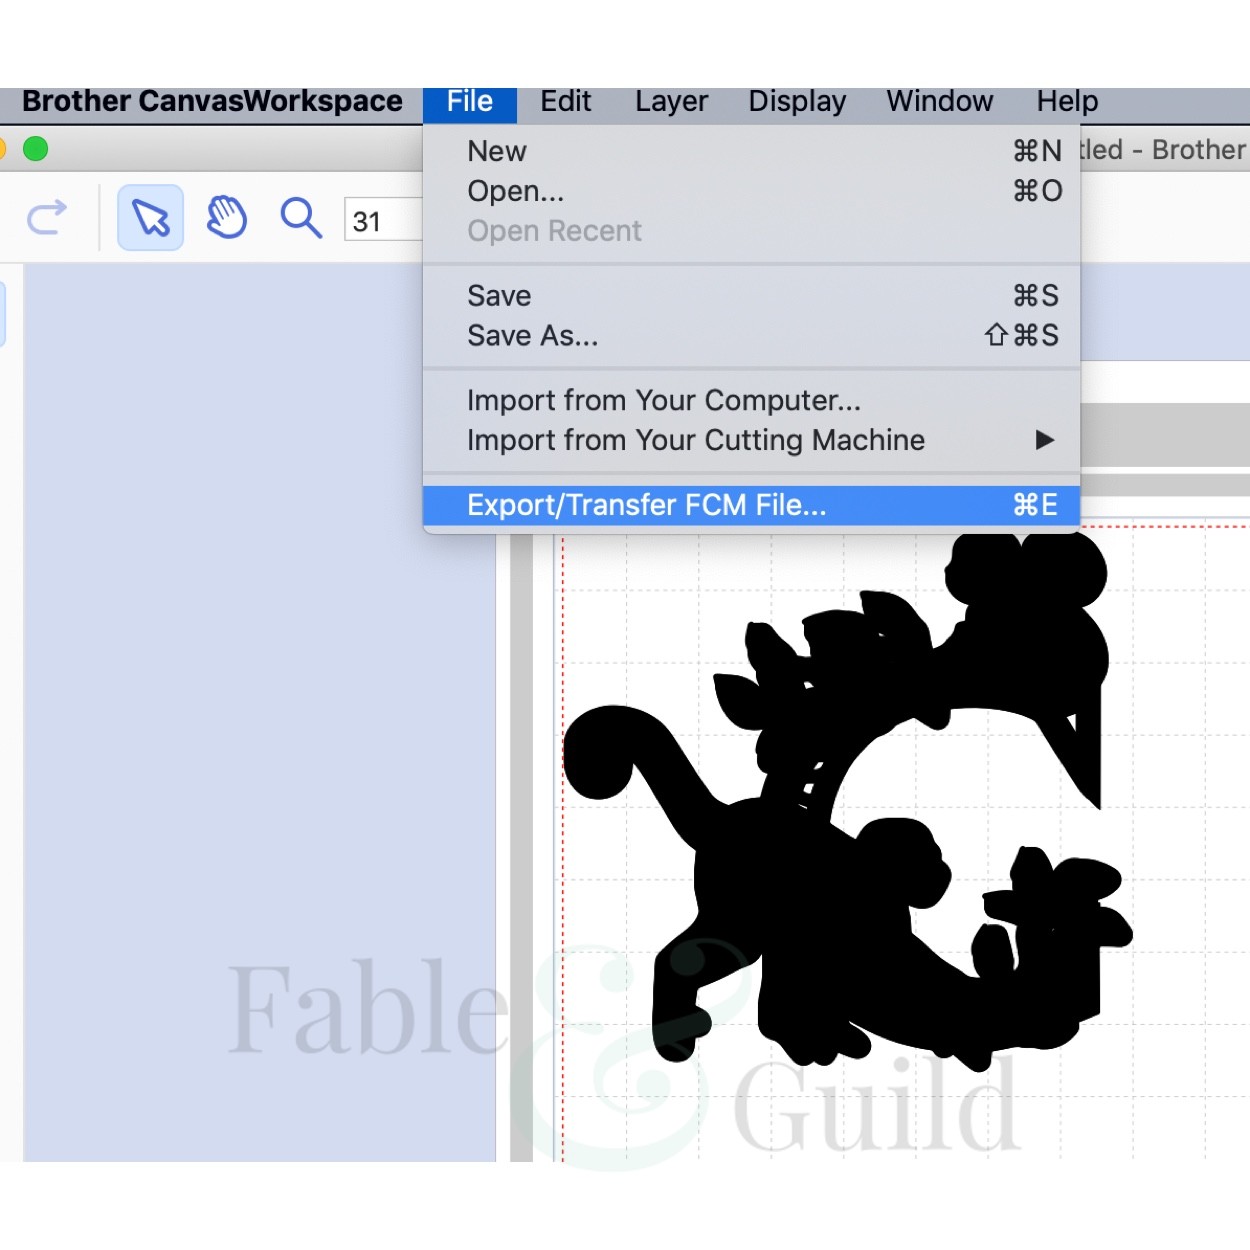
READY TO EXPORT TO YOUR BROTHER SCAN N CUT
Your files are now resized and ready to export/transfer as an FCM file to your Brother ScanNCut Machine.
Cut each cut file layer in a colour of your choice.
If you like our Brother Scan N Cut resize cut files guide, then check out our other Here’s How SVG Cut File Guides.
Check us out on Facebook:-
- Please give us a Like and Follow us on Facebook
- Like what you see, then please Share our Here’s How to Brother Scan N Cut resize cut files in Canvas Work Space Guide on Facebook.
Further 3D SVG Cut file art to inspire you…
Further 3D SVG Cut file art to inspire you…
-
")
The Bugle Messenger (A PDF Knitting Pattern For Bag Purse Handbag)
US$6.96 Exc. Tax Add to cart -
The Cute Constance – A PDF Pattern For A Messenger Bag
US$6.96 Exc. Tax Add to cart -
The Mini Lucy (PDF Tote Bag Sewing Patterns)
US$6.96 Exc. Tax Add to cart -
The Adele Baguette – A PDF Handbag Patterns To Sew
US$6.96 Exc. Tax Add to cart
")
")


")
")