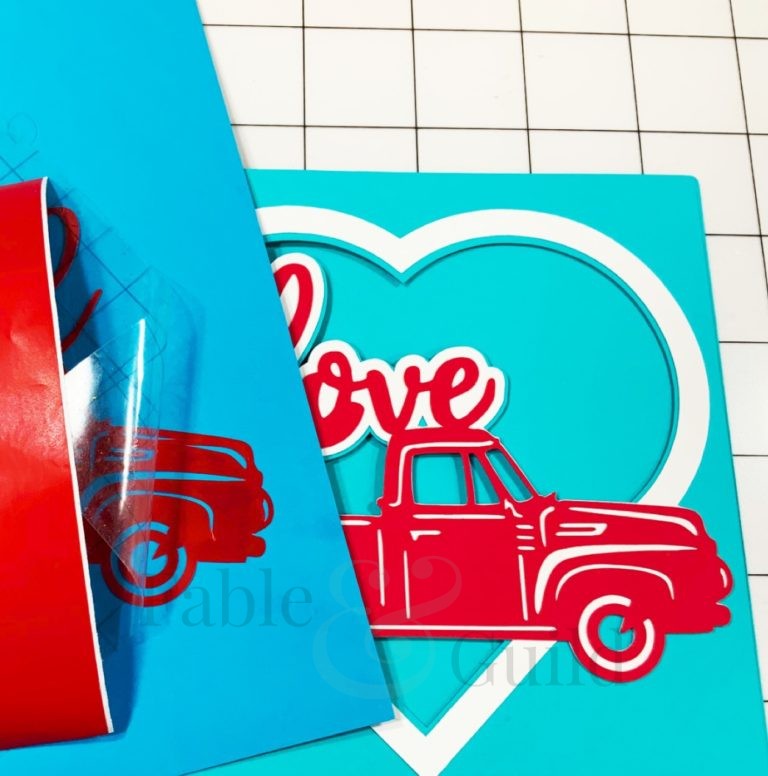
A quick tip on how to use Cricut vinyl or other manufacturers adhesive vinyl on your Cricut, ScanNCut & Silhouette cutting machines. We have fielded lots of questions this week about how to apply vinyl to the upper layer(s) of your 3D SVG multi layered cardstock cut file art projects.
How to use Cricut Vinyl Steps
Step
Description
1.
Cut your layers with your Cricut, ScanNcut or Silhouette cutting machines using cardstock paper for the under layers and the upper layer/s in vinyl.
2.
Cut a piece of transfer tape a little larger than the cut layer/s you wish to use the vinyl for.
3.
Peel back the transfer tape and dap the sticky side onto a clean cloth. This will make your transfer tape less tacky but still tacky enough to place your vinyl layer in the correct position (your transfer tape can also be re-used a number of times).
4.
Peel off your vinyl layer from your cutting mat and weed.
5.
Place transfer tape onto the upper right side of your layer and press firmly to iron out any air bubbles or wrinkles.
6.
Peel off the vinyl backing.
7.
Place and position your upper layer over and onto the second layer.
8.
Press firmly to iron out all the wrinkles and air bubbles (if any).
Check us out on Facebook:-
- Please give us a Like and Follow us on Facebook
- Like what you see, then please Share our How to use Cricut Vinyl on Facebook.
Further 3D SVG Cricut Cut files art to inspire you…
Further 3D SVG Cut file art to inspire you…
