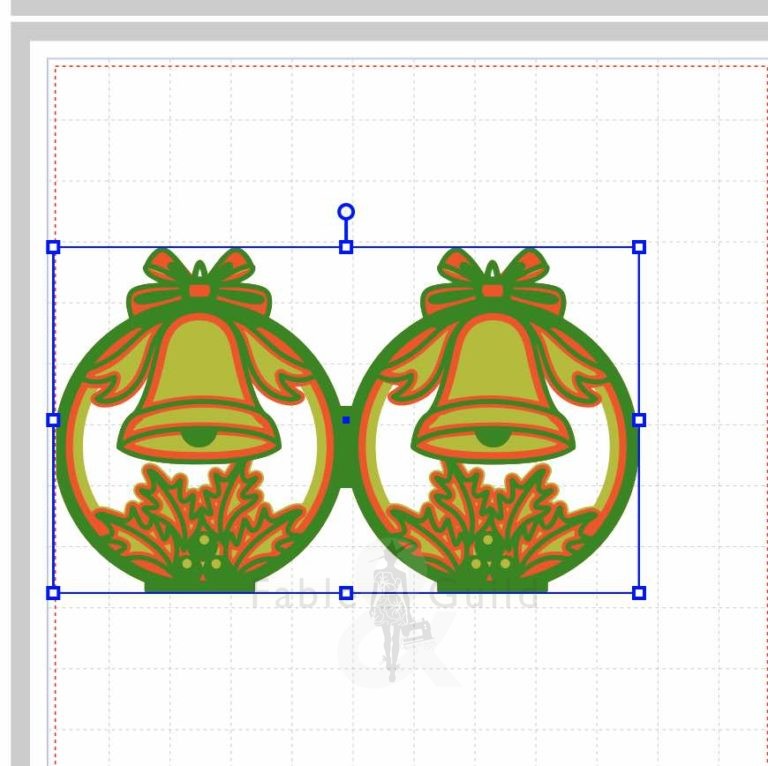
Here’s how to re-scale or resize SVG cut files. All Fable & Guild’s digital download files include the following file types: SVG, PNG, JPG, PNG, EPS and PDF. Consequently they are compatible with your Cricut, Scan N Cut, Silhouette, CNC or most other craft cutting machines.
In these guidance notes we are using the Jingle Bell Bauble Christmas Card SVG cut file as the example SVG cut file.
Resize SVG Cut File Steps
1.
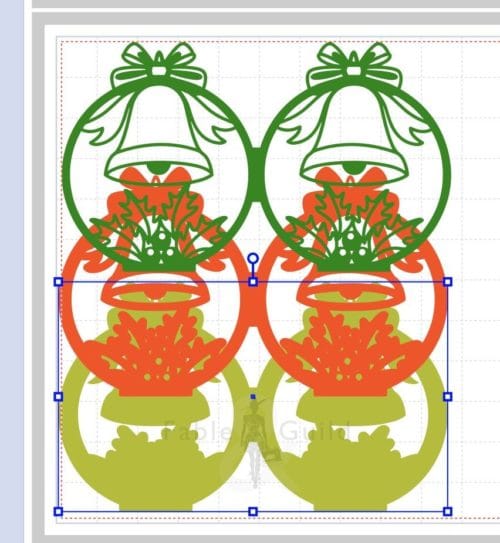
Upload all SVG Cut Files onto your artboard.
Recolor files to your preference. This also helps as a reminder when you come to select the correct color Vinyl, Cardstock or other material when cutting each layer.
2.
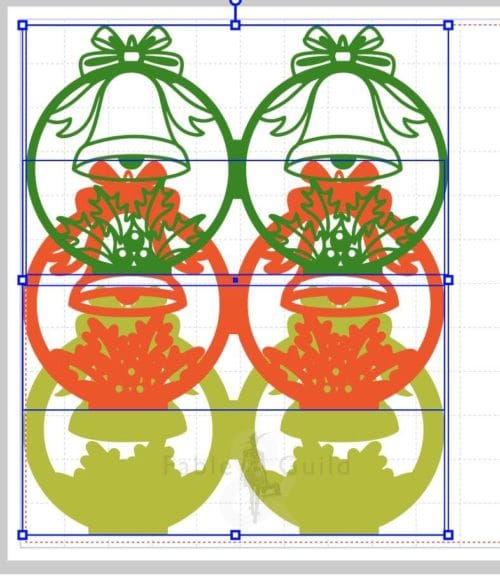
Layer your SVG Cut Files with layer 1 at the top, layer 2 second etc.
Fable & Guild SVG Cut Files are numbered. You can find the number at the end of each file name.
‘Select all files‘ – being sure to include the perforated lines.
3.

‘Centre Align‘ all your files.
4.
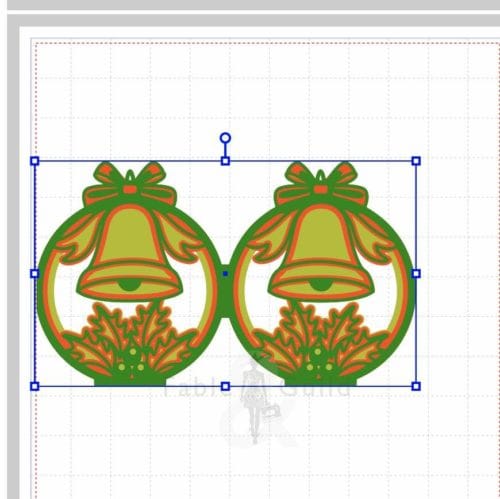
Your files should now look like this.
5.
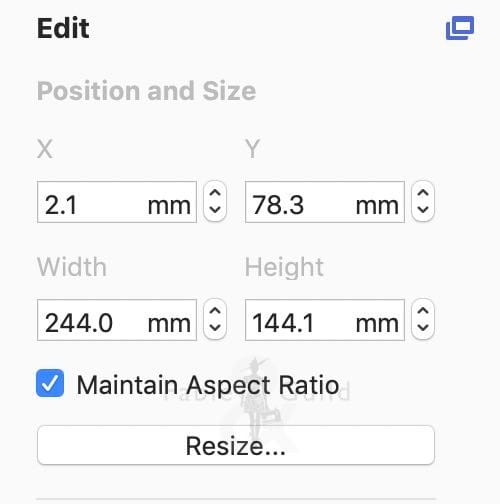
Now select ‘Maintain Aspect Ratio‘ and resize to your requirements. Ensuring that it fits your mat and chosen material.
6.
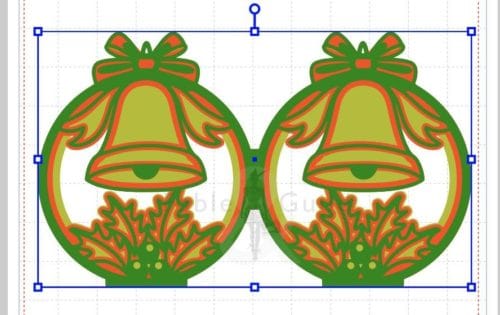
Your files should now look like this.
7.
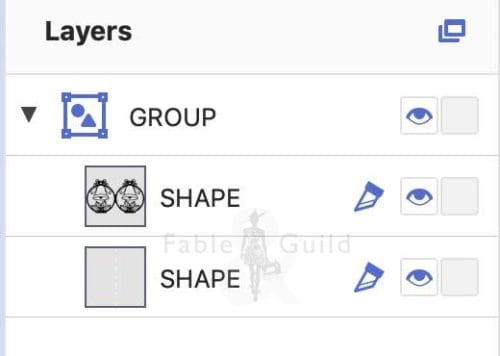
Now group/attach each file with the coordinating perforated/fold line. For more details see the Here’s How to attach perforated fold lines in Cricut Design Space.
Check us out on Facebook
- Please give us a Like and Follow us on Facebook
- Join our Cricut ScanNCut Silhouette SVG Help & Show Off Facebook Group created to ask questions & show off all your SVG art work created by you and your Cricut, ScanNCut & Silhouette cutting machines – let’s get creative and let’s celebrate getting creative!
- Like what you see, then please Share our Here’s how to Resize SVG Cut Files (In 7 Steps) post on Facebook.
Thanks for looking!
Did you like our Resize SVG Cut File Post? Then here are further 3D SVG Cut file art to inspire you…
As you can see below, here are our latest 3D SVG cut file design projects.
