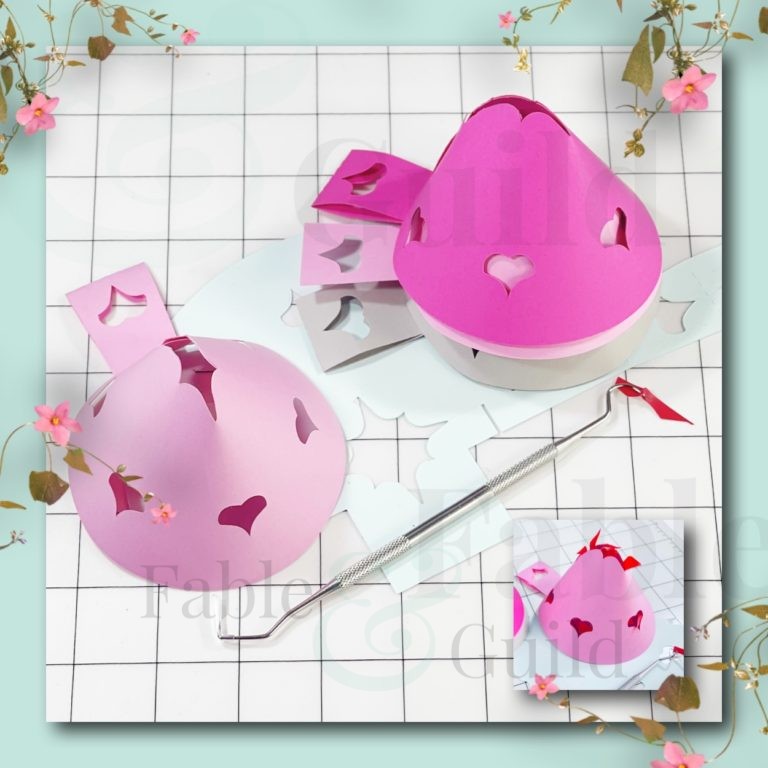
How to make your ‘Weeding Wand’ which is our vinyl weeding bin cut file and make light work of all your SVG Cut File vinyl weeding projects!
Vinyl Weeding Bin Cut File Steps
1
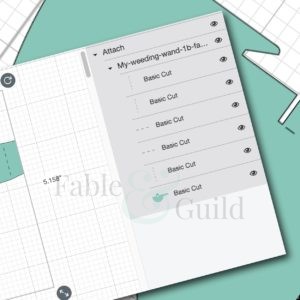
Remember to ‘attach’ your SVG file once on your art board. This will make sure your perforated folds lines within your cut file are positioned correctly.
3
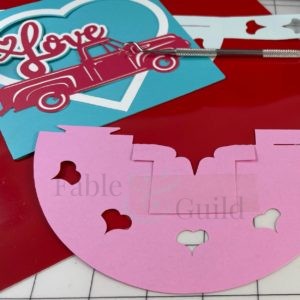
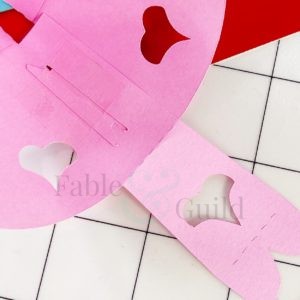
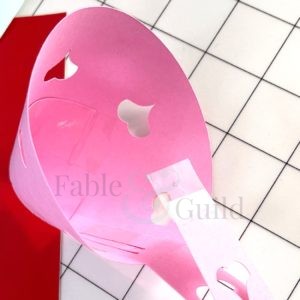
With your fold inside (2), join the two sides of your wand together by inserting the wide arrow through the slot on the other side of your cut file template.
4
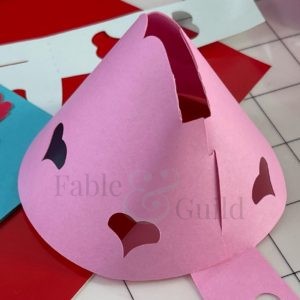
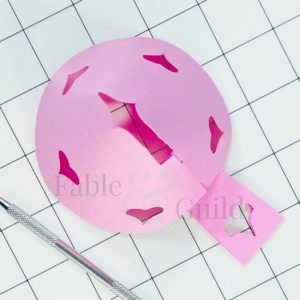
With the two sides held firmly in place, place sticky tape over the join on the inside of your weeding wand.
5
Fold the wand handle (downwards) along both fold lines Place sticky tape on the end of the wand handle to position and stick inside the cone.
Check us out on Facebook:-
- Please give us a Like and Follow us on Facebook
- Join our Cricut ScanNCut Silhouette SVG Help & Show Off Facebook Group created to ask questions & show off all your SVG art work created by you and your Cricut, ScanNCut & Silhouette cutting machines – let’s get creative and let’s celebrate getting creative!
- Like what you see, then please Share our Here’s How to make your Weeding Wand – A Vinyl Weeding Bin Cut File on Facebook.
Further 3D SVG Cut file art to inspire you…
Please see our new 3D SVG cut file designs ready to be Made by You!
