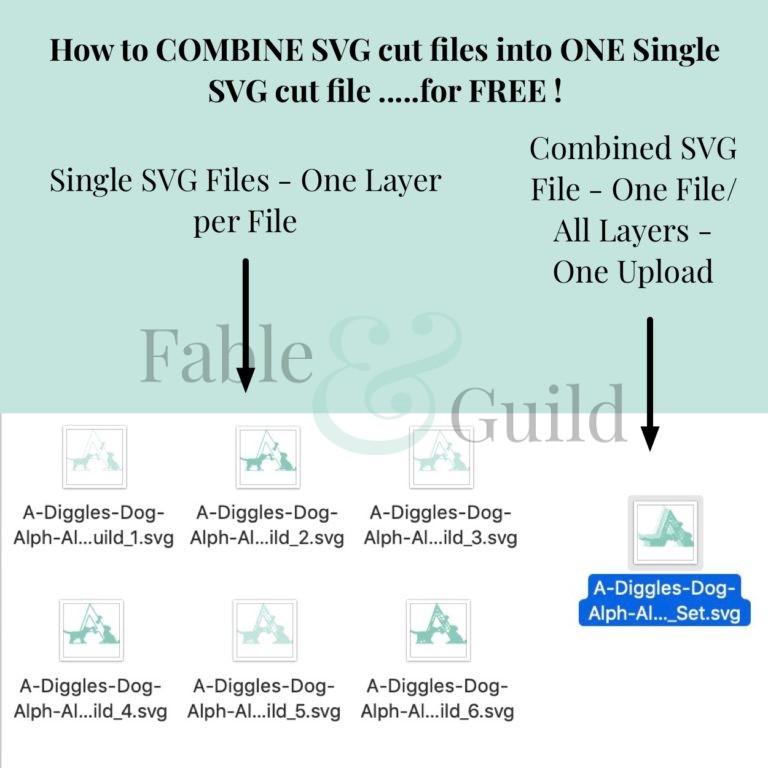
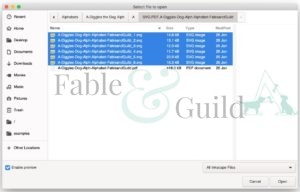
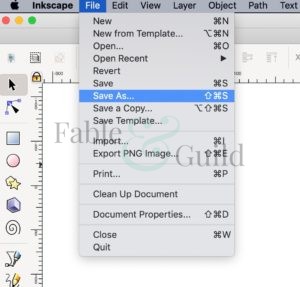
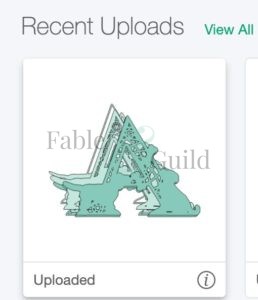
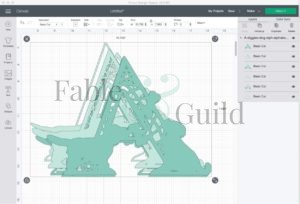
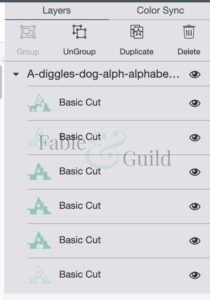
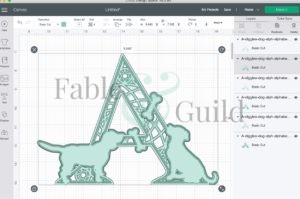
Here is a FREE and EASY work around on How To combine SVG cut files. This works for both layered SVG cut files and/or combing a number of single layer SVG cut files to upload as ONE COMBINED SVG FILE to Cricut Design Space, Brother Canvas Workspace and Silhouette Studio. To do this you will need to download an excellent and free open source software package. To do this follow our how to combine SVG cut files instructions below.
How to combine SVG cut files steps
1
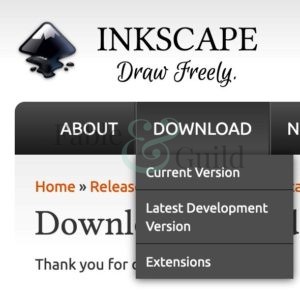
Visit Inkscape (Inkscape is a Free and open source vector graphics editor for GNU/Linux, Windows and MacOS X) and download the ‘Current Version’ of the software to your desktop computer or laptop.
6
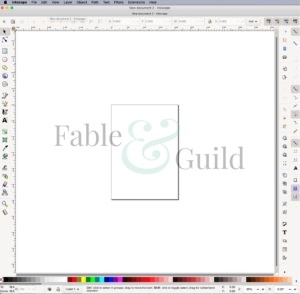
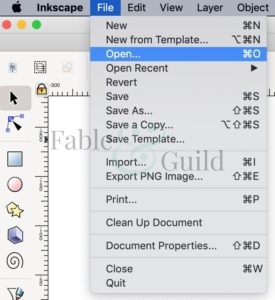
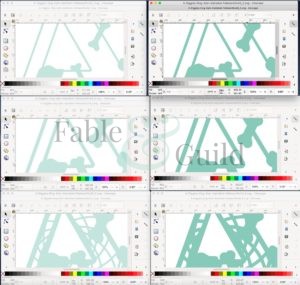
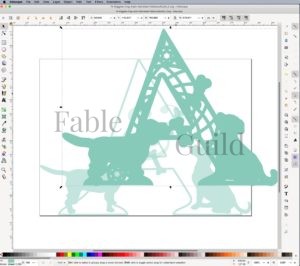
To keep things simple leave one (master) window open (drag the corner to enlarge the window if need be) and move the remaining windows to one side or minimise. In this example we have a 6 layered SVG cut file to combine all the layers into one SVG file. We moved or minimised 5 windows and left one master window open.
8
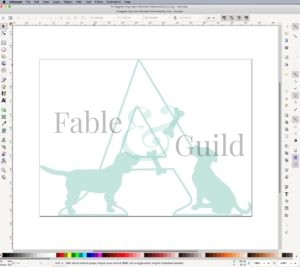
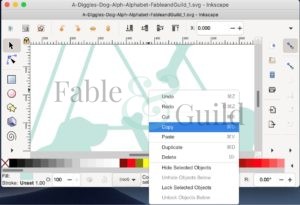
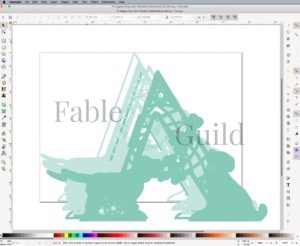
Return to your master window. Right click on the master window and select paste. Your second image layer should now appear in the master layer window. We would recommend doing this in your layer order – say layer 1 being your master layer, then layer 2, 3 etc. (we number each of our layers at the end of each file name).
For Single Layer Cut Files jump to Step 19, otherwise for your Layered Cut File Art Projects continue following steps 16 through to 19 of our How to combine SVG cut files.
17
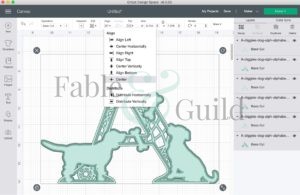
Now is the time to resize your files. Select all your SVG cut file layers (at the same time) and Align/Centre all your layered files.
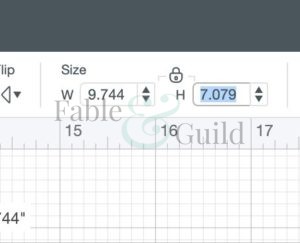
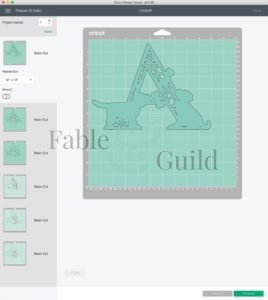
For Cricut see our Here’s how to Resize SVG Cut Files in 7 Steps
For Brother Scan N Cut see our Here’s How to resize your SVG layered cut files with your Brother ScanNCut cutting machine in Canvas Work Space
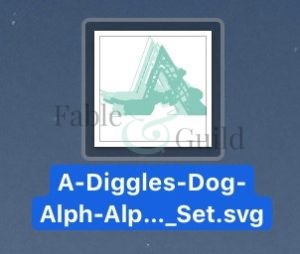
Hoorah, how to combine SVG cut files is now all Done!
Check us out on Facebook
- Please give us a Like and Follow us on Facebook
- Join our Cricut ScanNCut Silhouette SVG Help & Show Off Facebook Group created to ask questions & show off all your SVG art work created by you and your Cricut, ScanNCut & Silhouette cutting machines – let’s get creative and let’s celebrate getting creative!
- Like what you see in our How to combine SVG cut files post, then please Share our Here’s How to combine SVG cut files into one single SVG file for free! on Facebook.
Further 3D SVG Cut file art to inspire you…
Please see our new 3D SVG cut file designs ready to be Made by You!
