Here’s how to glue your layered SVG cut file greeting card designs together to achieve a crisp fold line and a neatly glued together card you will be proud of.
There are many ways how to glue your layered SVG cut file greeting card designs together. However, we have tried and tested numerous different methods with the aim of achieving a neat and crisp fold line and that the cut file layers do not ‘travel’ or wrinkle once a fold is made This ‘how to glue your layered SVG cut file greeting card’ tip will help you achieve a beautiful finish for your layered SVG cut file card projects.
It is really important that each of your layers and fold lines are accurately positioned to sit on top of each other to achieve the perfect layered cut file fold. You will need a good quality dry adhesive or glue stick and double sided sticky tape.
How to glue your layered SVG cut file greeting card steps
1

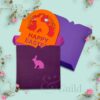
Step 1: Make a crisp fold line along the perforated or scored fold line for each of your layers.
Step 2: Unfold and flatten out each of your layers and place onto a clean surface.
2
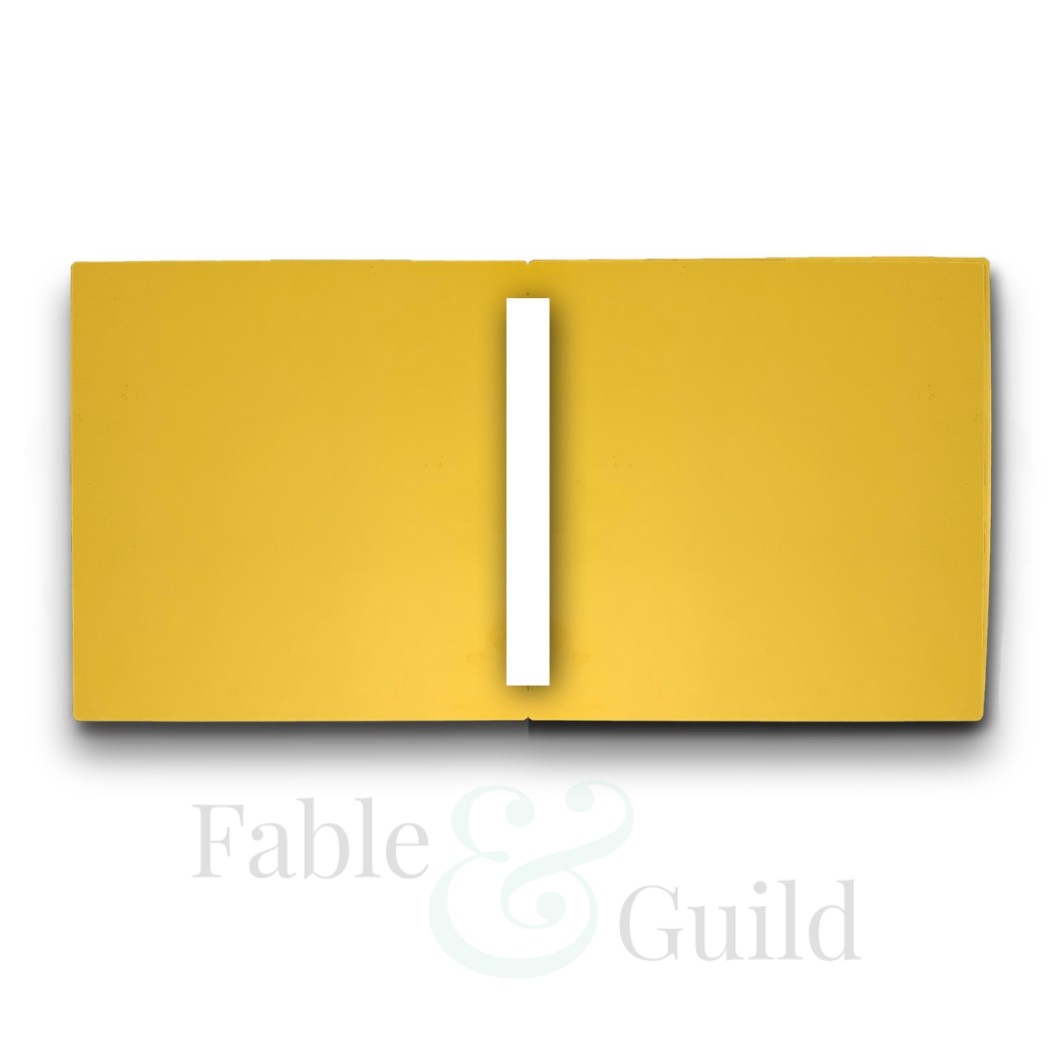
Step 3: Cut a length of double sided sticky tape to fit and straddle either side of your (flat) fold line of layer 1.
Step 4: With the inner or wrong side facing you, position and place your cut length of double sided sticky tape and remove the upper protective coating of your tape.
3
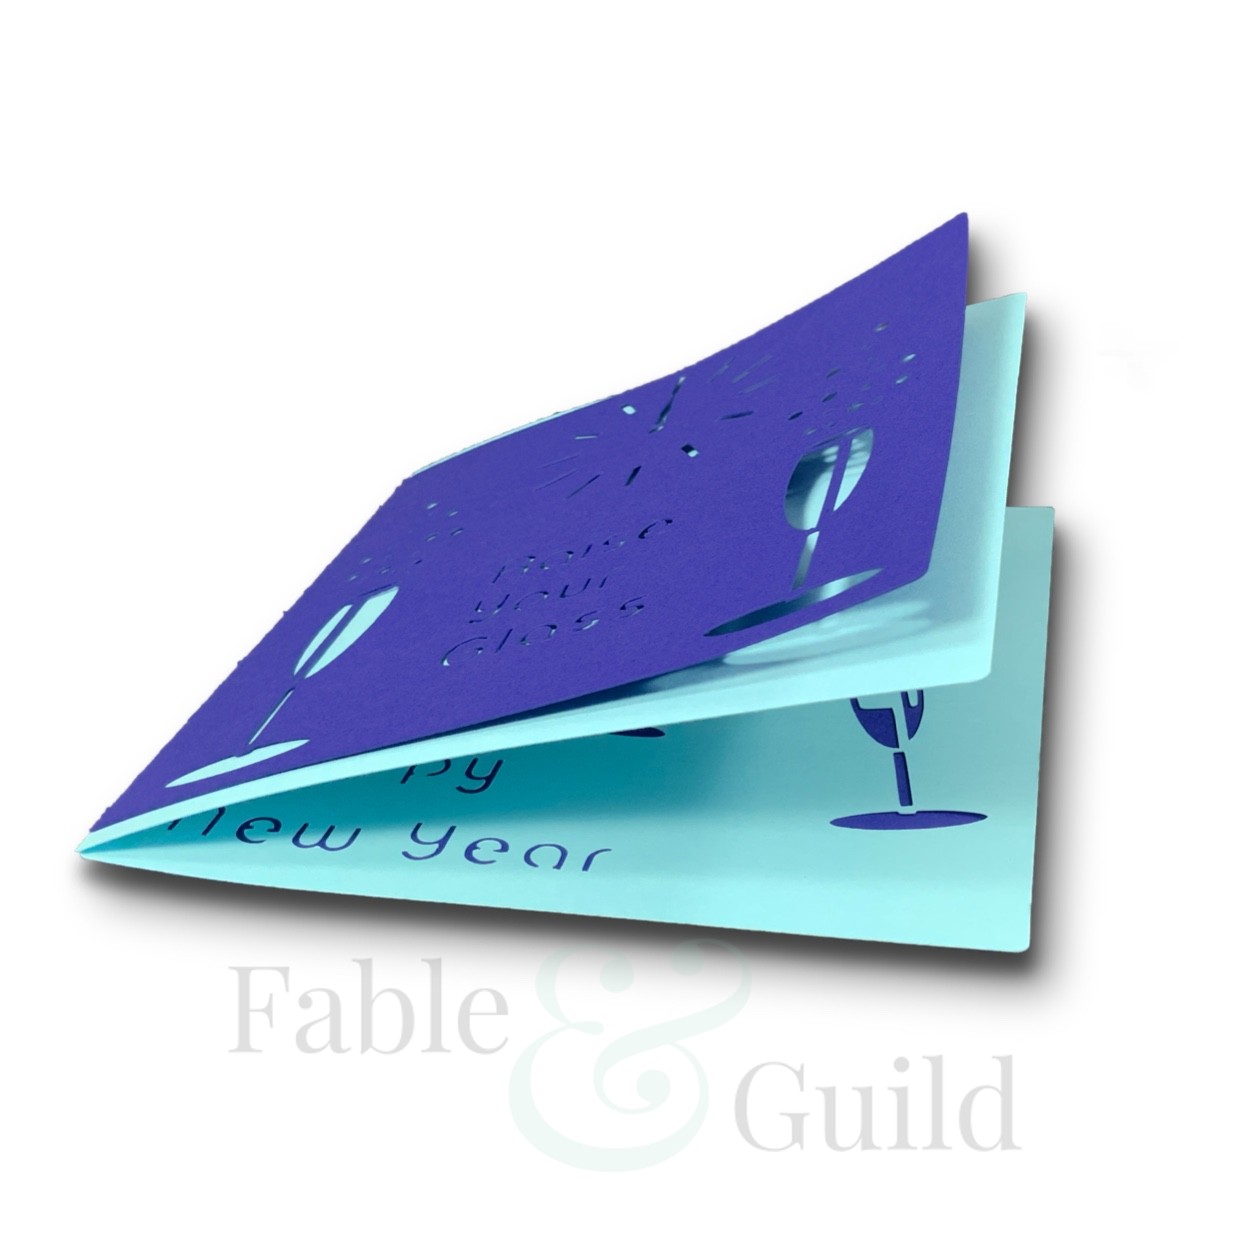
Step 5: With the inner or right side facing you, position and place cut file layer 2 fold line on to the fold line of cut file layer 1 and press firmly into place. Your card layers should now be stuck together along the fold line (your project should now look like a little book) – Repeat step 3 and 4 for any additional layers.
Step 6: With all your layers secured in place (so that the layers do not travel), make a crisp fold once again along the perforated or scored fold line.
Step 7: With your card now folded and secured in place along the fold line, begin with the upper front layer and sparingly apply adhesive or sticky tape to the underside (avoiding any cut areas as the adhesive/sticky tape may be visible).
Step 8: With a rolling action, press firmly from the fold out towards the outer edges.
Step 9: Repeat for the lower back layer and any remaining layers.
4

Step 10: Put your folded and glued card inside two sheets of non stick grease proof paper and place under a heavy book or flat surface. Now leave your card flat and with sufficient time to dry.
Step 11: Once dry, remove your Fable and Guild SVG cut file greeting card from the grease proof paper and your SVG cut file greeting card is good to go!
Check us out on Facebook
- Please give us a Like and Follow us on Facebook
- Like what you see, then please Share our How to glue your layered SVG cut file greeting card on Facebook.
Did you like our How to glue your layered SVG cut file greeting card? Then here are further 3D SVG Cut file art to inspire you…
Please see our new 3D SVG cut file designs ready to be Made by You!
-
")
The Bugle Messenger (A PDF Knitting Pattern For Bag Purse Handbag)
US$6.96 Exc. Tax Add to cart -
The Cute Constance – A PDF Pattern For A Messenger Bag
US$6.96 Exc. Tax Add to cart -
The Mini Lucy (PDF Tote Bag Sewing Patterns)
US$6.96 Exc. Tax Add to cart -
The Adele Baguette – A PDF Handbag Patterns To Sew
US$6.96 Exc. Tax Add to cart
")
")


")
")