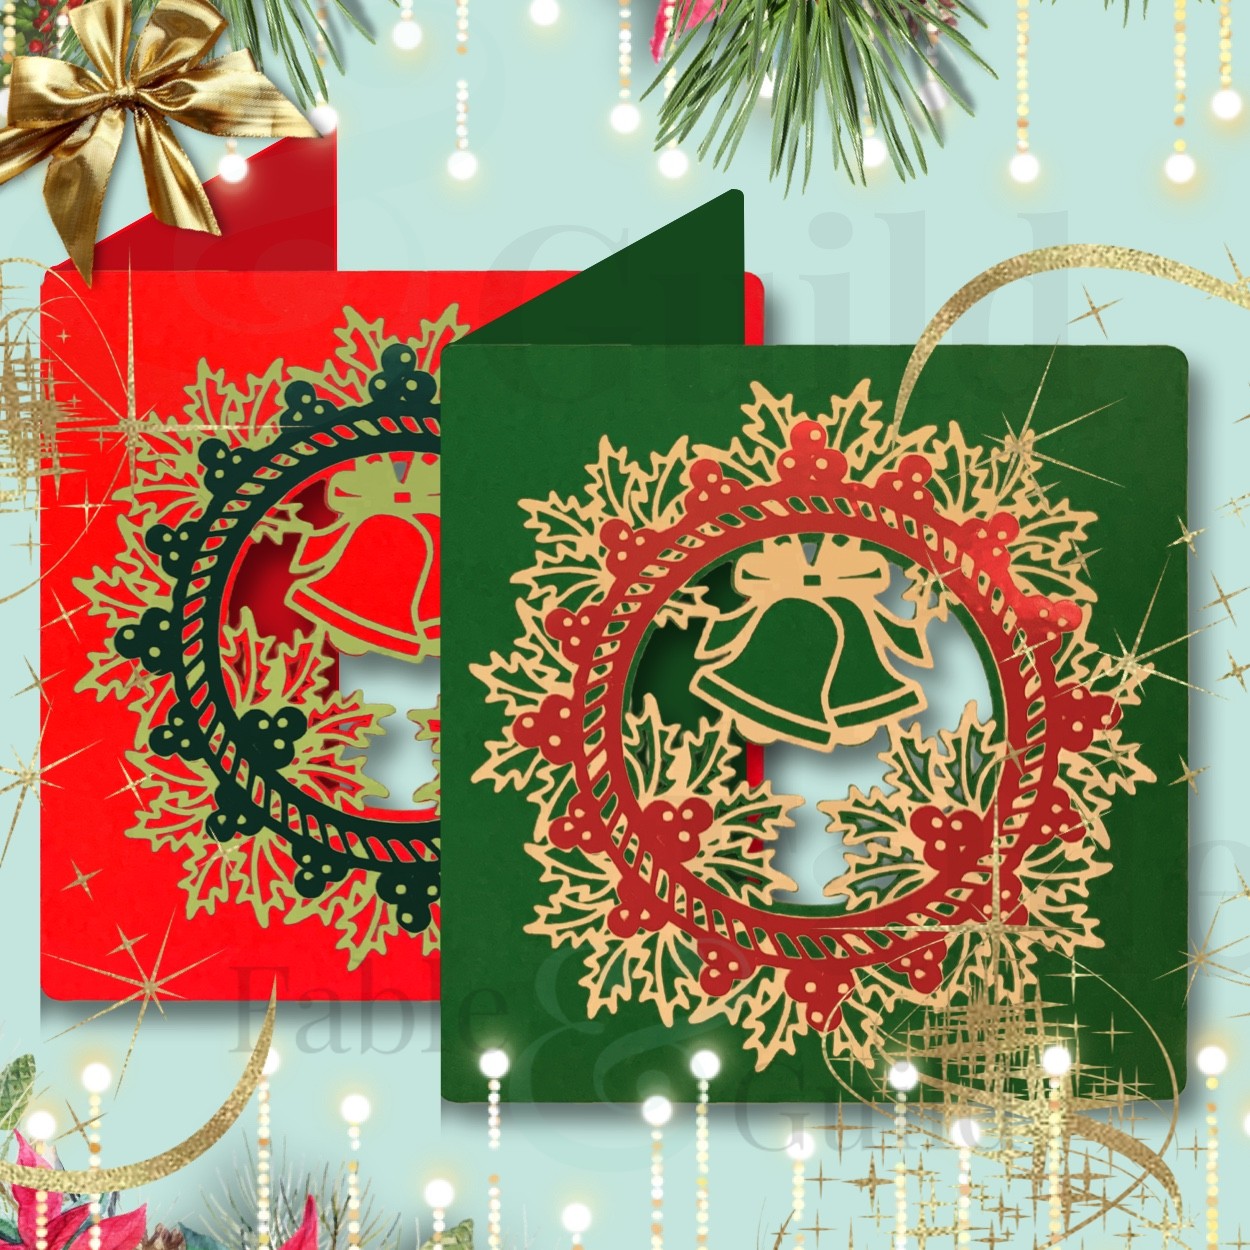
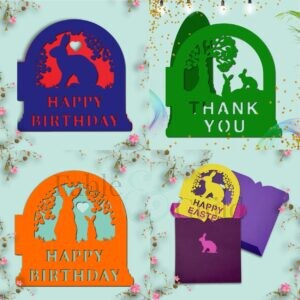
How to make a mixed multi layered cardstock and vinyl SVG Cut Files Greetings Card in under two minutes (once cut)! In this example, We use the ‘Holly Wreath Christmas Wishes Card’ which is 3 layered SVG cut file greetings card.
Vinyl SVG Cut Files
1.
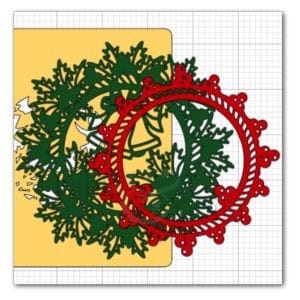
Place all the digital cut file layers onto your art board, select all the files and simultaneously re-size the files to your requirements (important!). Decide on which layers are to be cardstock and which layers are to be adhesive vinyl. In this example we use adhesive Vinyl for the upper two layers and Cardstock for the base layer.
Tip: The more intricate the layer then vinyl is a good choice as it cuts so beautifully!
2.
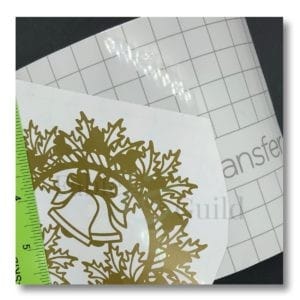
Once your SVG files are all cut, apply transfer tape to the 2 vinyl layers and weed (to your hearts content!).
3.
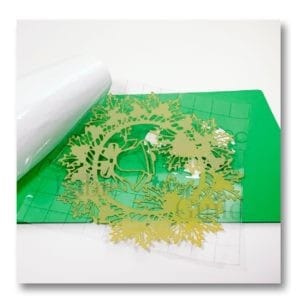
Start with the penultimate layer, in this case, vinyl layer 2 and position carefully over the upper right side of the base layer (cardstock layer 3). Press firmly in place.
4.
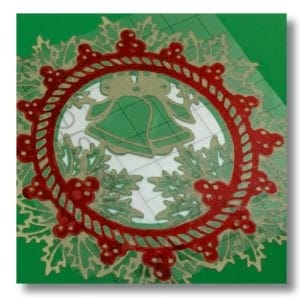
Remove the transfer tape and press firmly all over again.
5.

Repeat for vinyl layer 1 to position and place over vinyl layer 2.
6.

Fold along the centre perforated fold line to make your card.
Sit back, relax and admire all your hard work!
Check us out on Facebook
– Please give us a Like and Follow us on Facebook
– Like what you see, then please Share our Christmas Card Collection on Facebook.
Further 3D SVG Cut file art to inspire you…
As you can see below, here are our latest 3D SVG cut file design projects.
